Summary: A well-designed custom kitchen begins with usage flows — who cooks, how, and with whom — before defining the layout, heights, and finishes. The work triangle (sum of the three sides between 4 and 7 metres), heights adjusted to the cook's actual stature, and the breakdown into five functional zones (the Blum method) are the three pillars of serious kitchen design. A cabinetmaker who draws carefully spends several hours with the client before putting a single line on paper.
Custom kitchen design is not decided by door fronts or the choice of quartz. It is decided by what you cannot see: the distance between the hob and the sink, the height of the worktop, the depth of the pan drawer, the position of the oven at shoulder height. A poorly designed kitchen remains a bad kitchen even with American walnut doors. A well-designed kitchen lets itself be forgotten — you cook in it without thinking, for twenty years.
This article goes through, point by point, what a cabinetmaker looks at when designing a kitchen: the work triangle, the five classic layouts, standard heights and why they are only a starting point, the zone method proposed by Blum, the technical details that change everyday use, and the recurring mistakes found when visiting clients' homes. You will come away with a framework for challenging any project — including ours.
Why ergonomics takes precedence over style
A domestic kitchen accumulates between 1,500 and 2,000 hours of use per year: meal preparation, washing up, putting things away, morning coffee, unpacking shopping. It is the room in the home where gestures are repeated most. A wrong worktop height causes chronic back pain. A poorly placed sink means five unnecessary steps with every piece of peeling. A cutlery drawer 80 cm from the hob means a hundred extra back-and-forth trips per week.
The style of a kitchen goes out of fashion in ten years. Ergonomics, on the other hand, stays with you for as long as the kitchen itself — often twenty to thirty years for a quality bespoke piece. That is why custom kitchen design always begins with a reversal: usage flows are drawn first, then the layout, then the heights, and door fronts are chosen last.
When a kitchen supplier presents a polished 3D render at the first meeting, be cautious: the visual is seductive, but serious design starts from an analysis of how you work, not from a moodboard. In our workshop, we spend several hours with every client before the first line is drawn. We ask who cooks, how often, who does the washing up, where the coffee is stored, whether children help themselves to glasses. These questions shape the entire project long before door fronts are discussed.
The work triangle: a classic that still holds
The work triangle is a design principle developed by the University of Illinois in the 1940s. The idea: cooking, washing, and cold storage — hob, sink, refrigerator — form the three vertices of a triangle whose perimeter must remain between 4 and 7 metres. Below 4 metres, people get in each other's way. Beyond 7 metres, unnecessary steps multiply.
In practice: between the hob and the sink, you want between 1.2 and 2.1 metres of clear worktop — enough to set down a draining rack, a chopping board, and move a saucepan without contortion. Between the sink and the fridge, 1.2 to 2.1 metres as well. Between the hob and the fridge, 1.2 to 2.7 metres: this is generally the longest leg, and the one that suffers most in poorly thought-out kitchens.
The triangle remains entirely relevant, but today it benefits from a more nuanced reading. Modern kitchens incorporate secondary cooking zones (steam oven, microwave), specialist storage areas (larder, wine cellar), and a coffee or breakfast station often kept separate to free up the main meal workflow. A well-designed kitchen in fact contains two or three interlocking sub-triangles that must be resolved together.
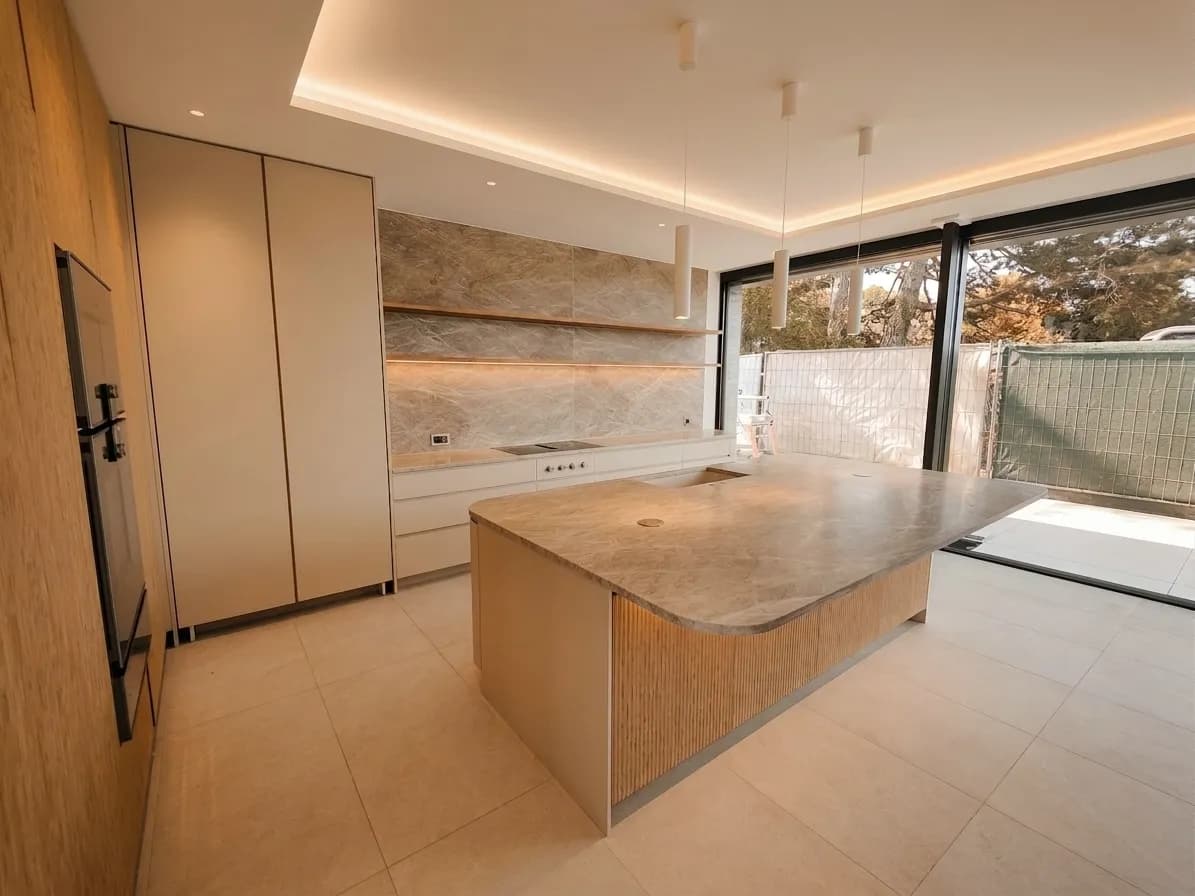
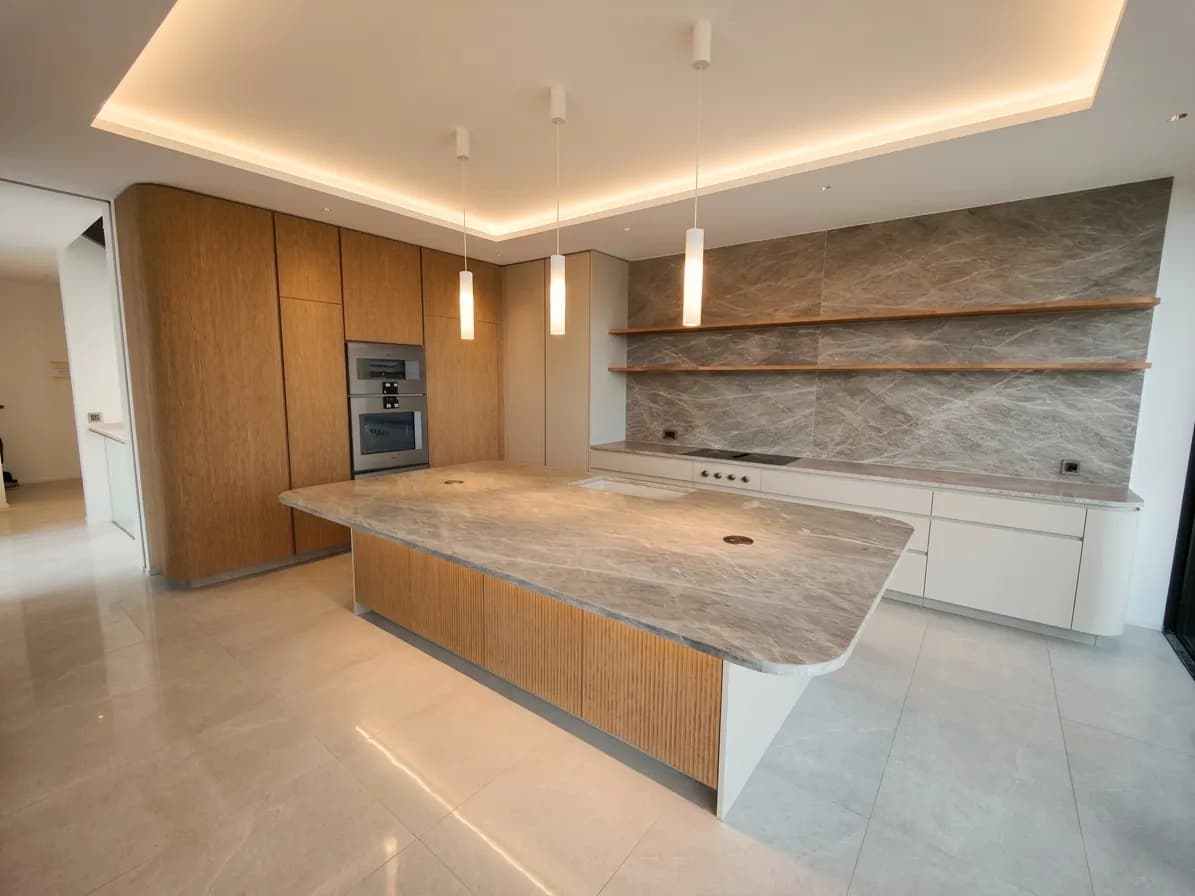
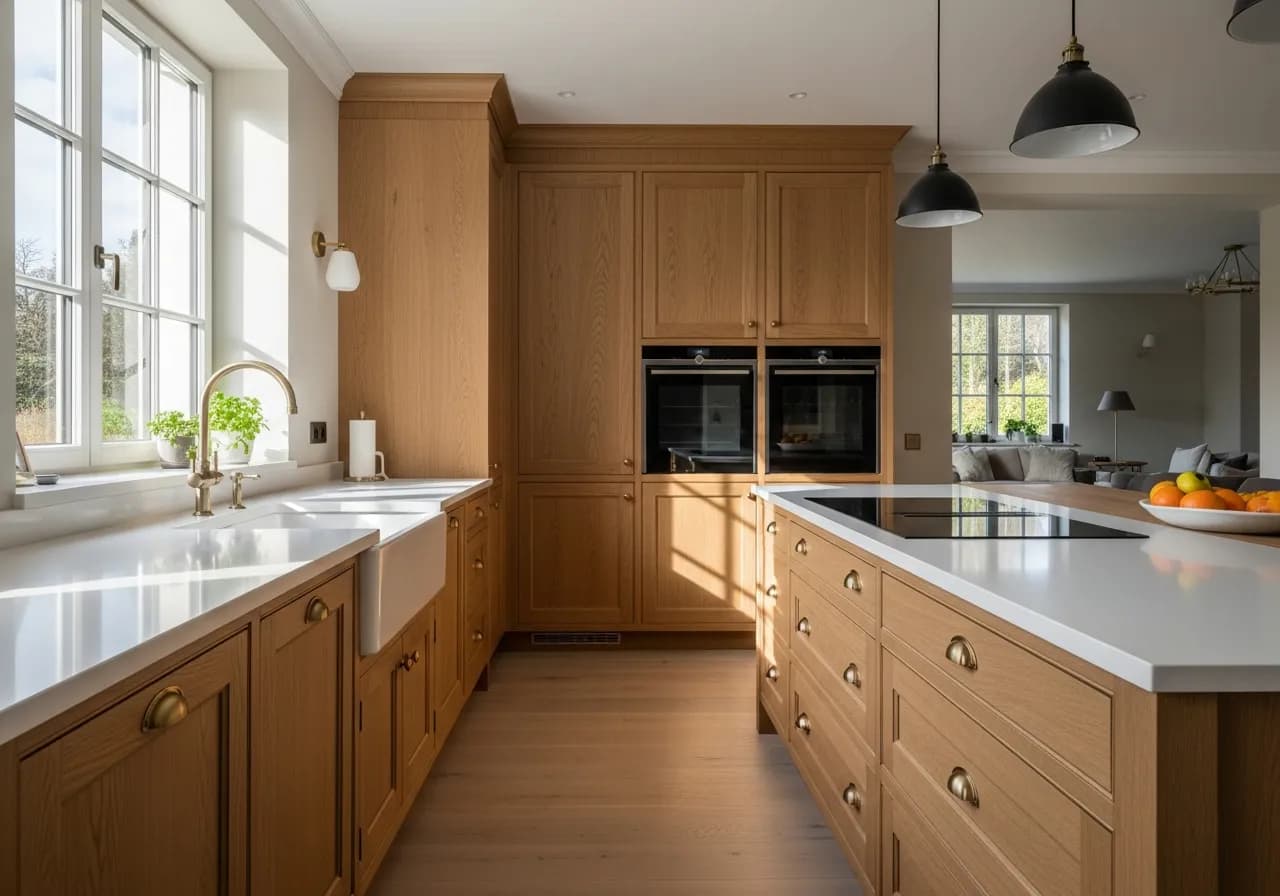
An important caveat: the work triangle assumes a single cook. If two people regularly cook at the same time, you shift to a dual-zone logic: two distinct hob-sink-worktop stations, or a clearly separated washing station and cooking station. This is precisely why island kitchens have become the standard in high-end bespoke work: they allow the cold and washing zone to be placed along the wall run, with the hot and preparation zone on the island, while maintaining fluid circulation.
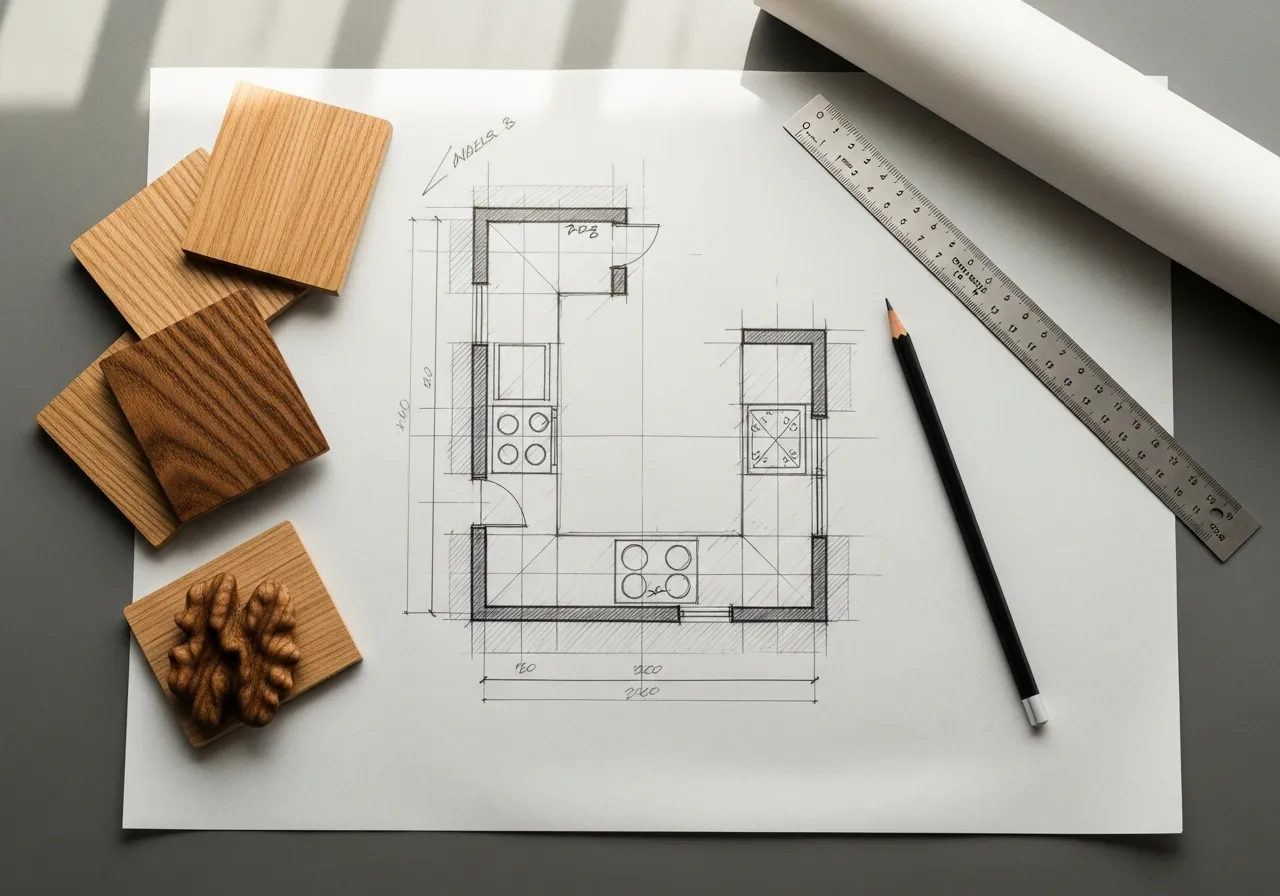 AI-generated illustration
The five layouts: real strengths and limitations
All kitchens derive from five basic layouts. Knowing them allows you to quickly assess whether the plan being proposed suits your space.
The single-wall kitchen
All units on a single wall. It suits small spaces — studios, lofts, 60 m² flats — and open-plan spaces where the kitchen needs to recede behind the living area. Minimum recommended length: 3 metres. Below that, the hob and sink end up side by side, and the work triangle collapses into a straight line. Available worktop space remains limited.
The galley kitchen
Two parallel runs facing each other, separated by a corridor. Compact work triangle, excellent ergonomics. This is the preferred configuration in professional kitchens. For domestic use, allow a minimum of 1.2 metres between the two runs — 1.4 metres if two people work there simultaneously. It is also the layout that offers the most storage per square metre of floor area.
The L-shaped kitchen
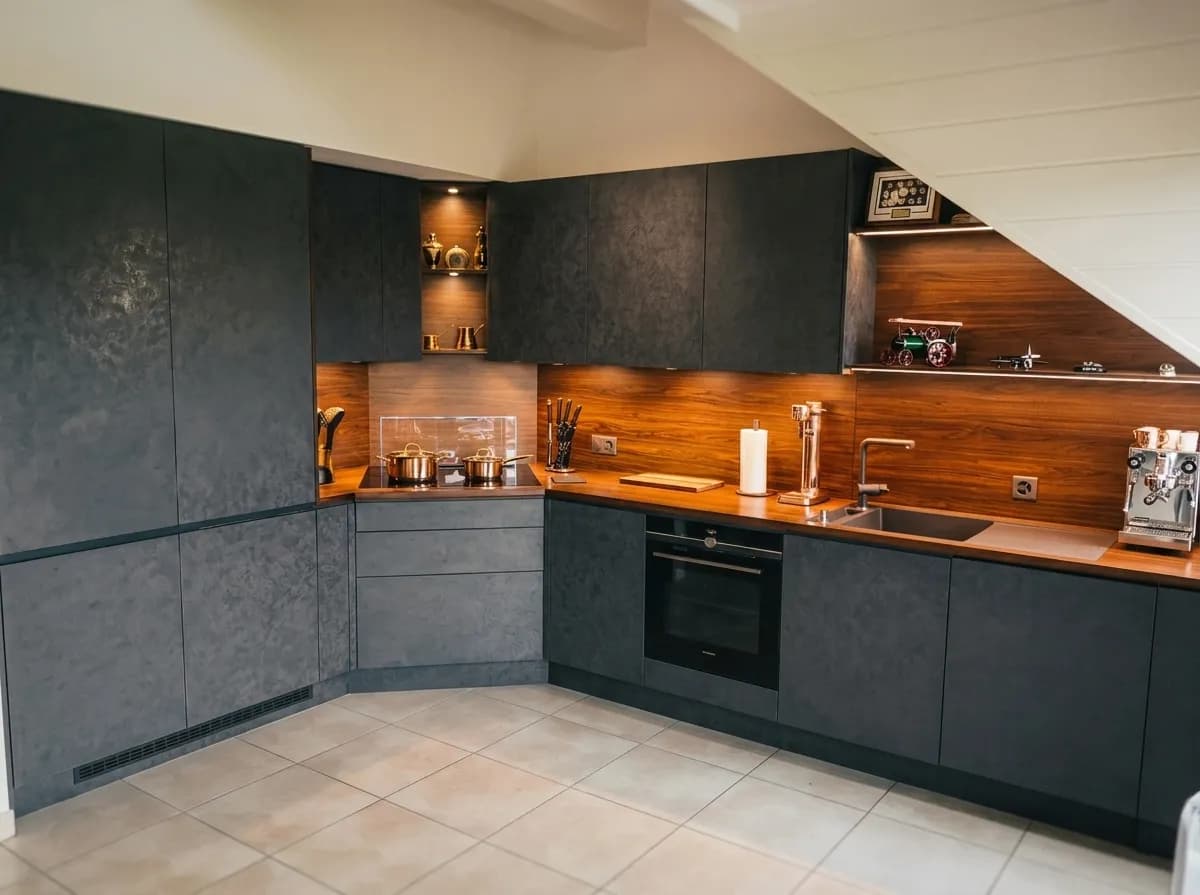
Two perpendicular walls. It frees up the rest of the room and works well in open-plan living spaces. The corner remains the technical point to handle carefully: modern hardware — Blum LeMans II swing-out trays, Hettich corner drawers — makes this zone far more usable than it was fifteen years ago, but it requires detailed design to avoid losing dozens of litres of usable volume.
The U-shaped kitchen
Three runs. Best storage density, compact work triangle. It requires a room of at least 3 × 3 metres to avoid feeling cramped, and demands two corners, each to be handled carefully. In larger spaces, the U becomes the basis of a very comfortable working kitchen.
The island kitchen
The most requested configuration in high-end bespoke work. The island can house the hob (with a ceiling extractor by Bora or Falmec), the sink, a worktop, or all three functions. The key rule: between the island and the wall run, allow a minimum of 1 metre of circulation, ideally 1.2 metres. Below that, you knock into things; beyond 1.4 metres, the distance between the two stations becomes too great. For an island to be ergonomically justified, the room must be at least 3.5 × 4 metres.
Heights and dimensions: beyond the standards
Standard heights in off-the-shelf kitchens are calibrated for a user of 1.72 metres — the European male average of the 1970s. If you are 1.60 metres or 1.90 metres tall, those standards condemn you to permanent discomfort. Custom kitchen design exists precisely to move beyond these norms.
Worktop height: the reference formula for the peeling and chopping zone is (cook's height ÷ 2) + 5 cm. For 1.72 m, that gives 91 cm — close to the standard 90 cm. For 1.80 m, it rises to 95 cm. For 1.65 m, it drops to 87.5 cm. The cooking zone, however, benefits from being 5 to 10 cm lower than the chopping zone: you work with your arms above the pans, and a worktop at 95 cm with a cooking section at 87 cm relieves the shoulders measurably over time. A serious bespoke kitchen accepts this difference in height between zones — it is invisible to the eye but transforms everyday use.
Height below wall units: 50 to 60 cm between the worktop and the underside of the wall unit. Less than 50 cm and you knock the stand mixer with every use. More than 60 cm and you lose access to the upper shelves.
Extractor height: a minimum of 65 cm above an induction hob, 75 cm above a gas hob. For ceiling extractors above an island, 110 to 130 cm depending on the model. Too low and you overheat the extractor and knock your head. Too high and you lose a significant portion of the extraction capacity.
Oven at shoulder height: an oven installed with the open-door axis at 90–100 cm from the floor is a comfort you will never want to give up. You load and unload without bending. The oven-steam oven-microwave tower, aligned at working height, is one of the most visible hallmarks of a kitchen designed for real use rather than photography.
Snack or bar zone: 110 to 115 cm for occasional standing use, 90 cm for standard bar stools, 75 cm if the island incorporates a genuine dining area with dining chairs. Mixing these three heights on the same island is almost always a poor choice, both aesthetically and ergonomically.
 AI-generated illustration
The five-zone storage method
Austrian hardware manufacturer Blum formalised in the 2000s a design method now used by all good cabinetmakers: breaking the kitchen down into five zones of use. It goes beyond the traditional work triangle by integrating specialist storage, which accounts for the majority of a kitchen's volume.
- Zone 1 — Provisions: tinned goods, pasta, rice, coffee, biscuits. To be placed near the entrance so shopping can be put away without crossing the room. Ideally a tall larder unit with deep drawers (Blum Tandembox or Legrabox).
- Zone 2 — Non-food storage: crockery, glasses, cutlery, containers, serving dishes. Between the sink and the table — this is where you set and clear. Cutlery in a drawer directly below the worktop, in immediate proximity to the dishwasher.
- Zone 3 — Washing: sink, dishwasher, recycling bin, cleaning products. An integrated bin under the sink or in the adjacent drawer is non-negotiable. Allow a minimum 60 cm sink and 60 cm of clear worktop to the right (for a right-handed person) for draining and drying.
- Zone 4 — Preparation: peeling, chopping, mixing. This is where 60 to 70% of active kitchen time is spent. It must offer 90 to 120 cm of clear worktop as a minimum, positioned between the sink and the hob, with knives, boards, stand mixer, and scales within easy reach.
- Zone 5 — Cooking: hob, oven, extractor, pans, casseroles, spices, oils. Pans in a deep drawer (minimum 220 mm height) below the hob, spices in a narrow drawer alongside, oils in a 150 mm pull-out adjacent.
The logical sequence of these zones in the natural direction of travel (right to left for a right-handed person taking food from the fridge) is: Provisions → Storage → Washing → Preparation → Cooking. A well-designed kitchen follows this flow. When the fridge ends up next to the hob, this logic has not been observed — cold food and heat do not coexist without consequence.
To find out more about the realisation of a custom kitchen in our workshop, the dedicated page covers materials, finishes, and the project journey.
Lighting, ventilation, sockets: three points to settle early
These technical details are rushed through in off-the-shelf kitchens. They deserve careful thought at the design stage, before the electricians and plumbers are locked in.
Three-layer lighting
General overhead lighting (recessed LEDs or pendants above the island), task lighting under the wall units (LED strips at a minimum of 2,700 K, ideally 3,000 K, with a CRI above 90 for accurate colour rendering of food), and ambient lighting inside glazed units, under the plinths, or within the extractor. The classic mistake: a single central ceiling light that casts the cook's own shadow over the worktop. For a 12 m² kitchen, allow 800 to 1,200 lumens overhead, plus 600 to 900 linear lumens under the wall units.
Ventilation
An externally ducted extractor — recirculation is a degraded solution — with a flow rate of 400 to 600 m³/h for an enclosed kitchen, 600 to 800 m³/h for a kitchen open to the living area. The duct must be at least 150 mm in diameter, run in straight sections or with 45° bends: each 90° bend loses approximately 20% of the flow rate. In Switzerland, SIA standards 180 and SIA 380/1 impose airtightness levels that make a mechanical ventilation system compatible with the extractor essential in recent constructions — plan for a dedicated fresh-air intake or a window control linked to the extractor to avoid any negative pressure.
Electrical sockets
Allow a minimum of 6 sockets on the main run, plus 4 on the island. Recommended height: 110 to 115 cm from the floor, or 15 to 20 cm above the worktop. On the island, use retractable sockets such as Evoline or integrated socket rails under the worktop. A dedicated 16 A circuit for the oven, another for the hob (or 32 A if oven and hob share a circuit), and a third for the dishwasher. The position of every countertop appliance — stand mixer, coffee machine, toaster — is decided at the design stage, not after installation. This detail may seem trivial; it nonetheless determines the day-to-day practicality of a worktop.
Recurring mistakes we correct on site
On our projects and during site visits, we regularly encounter the same problems in existing kitchens. Noting them here will help you spot them in any plan.
- Fridge placed directly next to the hob without a buffer: the radiated heat puts strain on the compressor and accelerates its wear.
- Bin under the sink but on the opposite side from the dishwasher: you carry plates from one side to the other to rinse, sort, and load them.
- Kitchen corner treated with a standard unit and no swing-out tray or corner drawer: a blind zone of 60 to 80 litres rendered unusable.
- Oven installed low, at 45 cm from the floor: you bend at every load, and lift dishes out without being able to see inside. An oven at 90 cm axis height changes the experience entirely.
- Uniform worktop at standard height along the full length, with no allowance for the main cook's stature — and sometimes a 20 cm difference between the two people who use the kitchen.
- Extractor too narrow relative to the hob: the extractor must cover at least the width of the hob, ideally 10 cm more on each side, to capture lateral vapour plumes.
These corrections are simple to plan on paper, and costly to rectify once the kitchen is installed. That is why our projects go through several validation stages — brief, cross-section drawings, 3D image — before any cutting begins in the workshop.
Key figures to remember
The figures to keep in mind: the work triangle must remain between 4 and 7 metres; worktop height is calculated from the cook's actual stature, not an industrial standard; the preparation zone requires 90 to 120 cm of clear surface between the sink and the hob; the island demands 1 to 1.2 metres of free circulation. Lighting, ventilation, and sockets are decided before the tradespeople arrive, not afterwards. And the design phase — usage analysis, cross-section drawings, iterations before sign-off — is the moment when a custom kitchen truly earns its price.
Discuss your project
At our workshop in Gingins, every kitchen begins with a conversation: who cooks, how, in which room, with what constraints. We respond within 48 hours with an initial estimate or a proposed site visit. Describe your project in a few lines via our contact form — or call us directly on +41 79 367 26 99, Monday to Friday, 08:00 to 18:00.